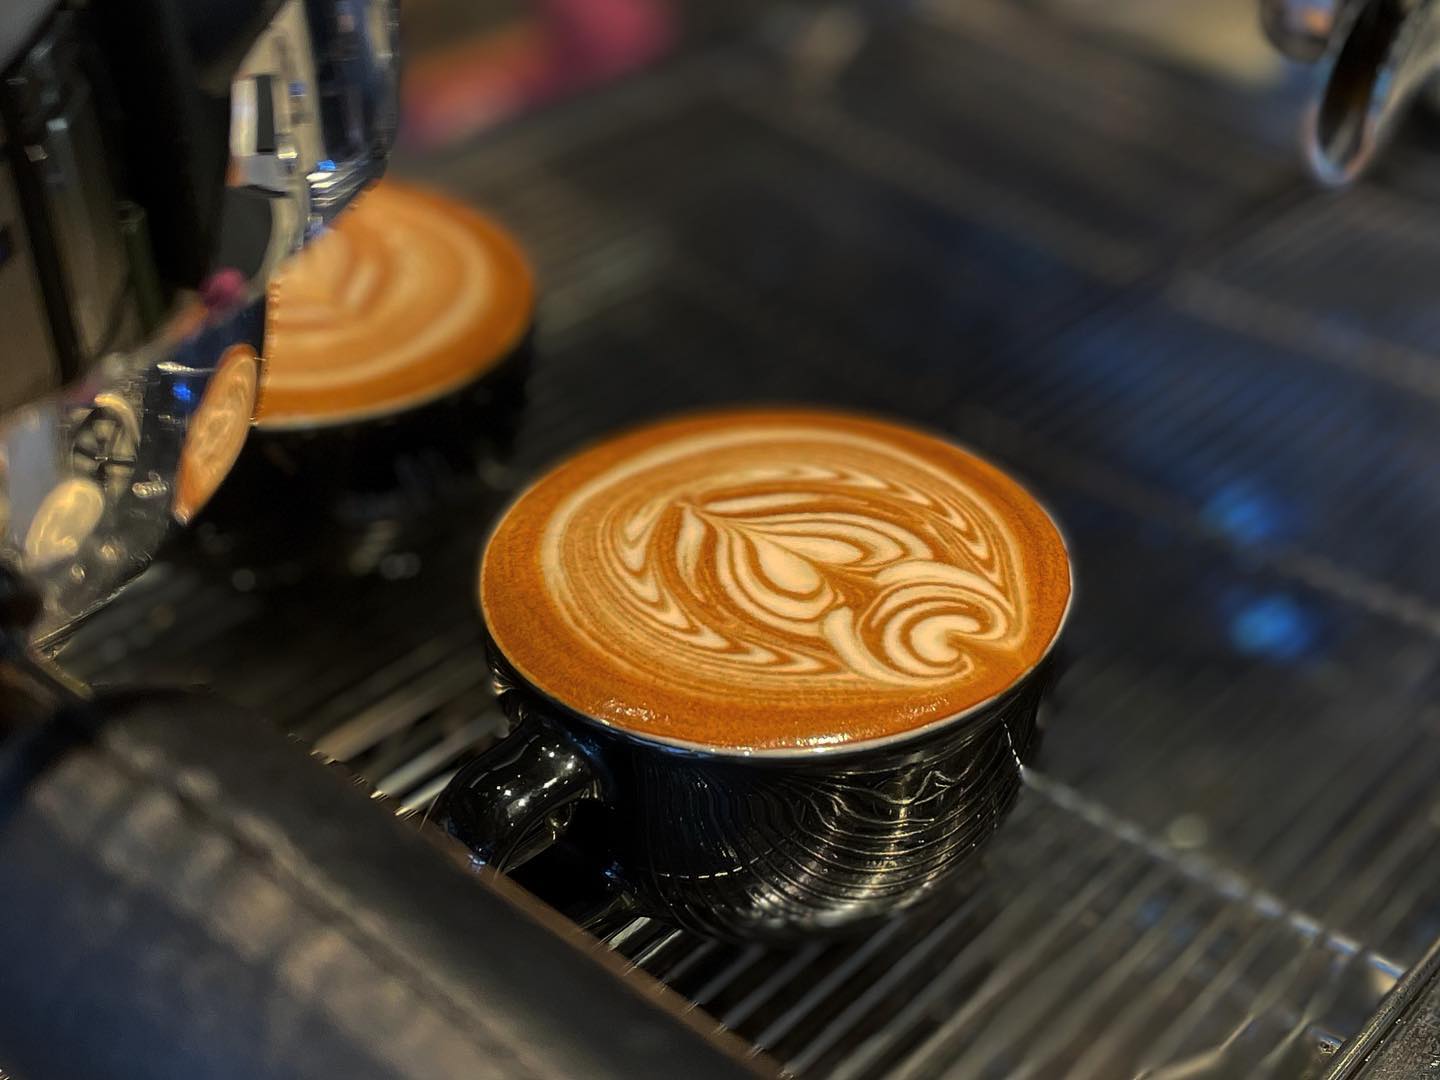
For those who crave a rich, full-bodied cup of coffee with an old-school vibe, the coffee percolator is a timeless brewing tool that’s making a flavorful comeback. Unlike modern coffee machines, a percolator gives you full control over the brewing process, turning your kitchen into a laboratory of aroma, timing, and balance. This guide will take you through every detail—from mechanics to safety, flavor enhancements, and even modern percolator designs—so you can confidently brew your perfect cup of craft coffee.
☕ Mechanics of a Coffee Percolator
A traditional percolator uses a simple but elegant mechanism. As the heat source warms the water at the bottom chamber, pressure builds and pushes hot water up a central tube. This water rains down over coffee grounds in the coffee basket or filter basket, extracting flavor as it cycles back down. This loop continues until the desired strength is achieved. Unlike automatic drip systems, a percolator lets you adjust time and intensity through visual cues—especially if it features a PercView knob.
🔍 Percolator for Your Needs
There are two main types:
- Stovetop percolators, like the GSI Outdoors Glacier Perc, are durable and perfect for campers or those who prefer manual control.
- Electric percolators, which plug in and automatically regulate the brewing cycle.
Choose based on your lifestyle: rugged stainless steel construction for outdoors, or programmable features for home kitchens.
☕ Selecting the Best Coffee Type and Grind
For the best results, use medium ground coffee—coarser than espresso, but finer than French press. Too fine and grounds will seep through the mesh filter or paper filter.
Stick with bold, rich profiles like:
- Dark cocoa notes for full-bodied flavor
- Caramelized sugar blends for sweeter cups
Brands like Blue Bottle Coffee and Spro Coffee Lab offer excellent options for percolator brewing.
Use a burr grinder for even extraction and maximum control over grind consistency.
⚖️ Measuring and Adding Coffee Grounds
The golden water-to-coffee ratio for percolators is 1 tablespoon of coffee per 6 fl oz of water. Adjust based on how strong you like your brew. Place the grounds into the inner basket with cover, ensuring even distribution. Avoid tamping the grounds down—this isn’t espresso.
💧 Filling the Percolator with Water
Fill the lower chamber with cold, fresh water—preferably filtered or low in minerals to reduce mineral deposits. Never fill past the safety line or safety valve, especially in a pressure percolator. Overfilling can cause overflow or poor percolation.
🧩 Assembling the Percolator Correctly
Insert the metal stem into the center of the lower chamber, followed by the coffee basket or filter basket. Some models come with reusable mesh filters or accept a paper filter for cleaner brews. Secure the lid, making sure the rubber gasket and safety valve are properly seated. The heat-resistant silicone handle ensures safe handling once hot.
🔥 Beginning the Percolation Process
Place your percolator on the hot plate, stove, or plug in the electric model. Use medium heat to bring the water to a gentle percolation—not a full boil. Watch the PercView knob for bubbling. A clear, rhythmic pulse means the process has begun.
⏱️ Monitoring Percolation Time for Optimal Flavor
Timing is everything.
- 4 to 6 minutes for mild brews
- 6 to 8 minutes for a bolder cup
- 10 minutes+ risks over-extraction and bitterness
Watch for changes in color and bubbling. For electric models, the machine often shuts off automatically once optimal strength is reached.
⏳ Allowing Coffee to Settle Post-Percolation
Once brewing stops, let the coffee sit for 2–3 minutes. This allows fine particles to settle, preventing sediment in your cup. Pour slowly and evenly into your favorite mug or carafe.
☕ Serving Your Brewed Coffee
Serve your percolated coffee hot, ideally in pre-warmed cups to retain temperature. If using a warming plate, avoid leaving it on too long—it can degrade the flavor. Consider pairing your coffee with experimental mocktails, light pastries, or a splash of milk for texture.
🧼 Cleaning and Maintaining Your Percolator
Daily Cleaning Routine
- Disassemble the coffee basket, stem, and lid
- Rinse all parts with warm water and mild soap
- Wipe down the stainless steel construction and PercView knob
Deep Cleaning Tips
Every few weeks:
- Mix 1:1 vinegar and water, then run a brew cycle without coffee
- Rinse thoroughly with water to eliminate residue
- For stubborn stains, use baking soda paste on interior surfaces
Proper care keeps your machine running smoothly and preserves taste.
Checkout: Top 5 Coffee Shops in Rhyl
🔄 Differences Between Percolators and Other Brewing Methods
- Moka Pot: Uses pressure and delivers a more concentrated brew
- French Press: Steeps coffee grounds, resulting in full-bodied flavor with sediment
- Pour-over coffee: Offers cleaner flavor but requires manual pouring
- Drip systems: Convenient, but with less control over extraction
Percolators offer boldness and nostalgia that no other coffee maker quite matches.
Checkout: How to Get Coffee Stains Out
🔧 Tips for Enhancing Coffee Flavor with a Percolator
- Pre-wet your coffee filter to remove paper taste
- Use filtered or mineral-balanced water
- Experiment with craft coffee blends and single origins
- Add a pinch of salt to reduce bitterness
- Add cinnamon or cardamom to grounds for a subtle twist
⚠️ Safety Precautions When Using a Percolator
- Never brew on high heat—it can damage parts and boil over
- Ensure the safety valve is clear and functional
- Don’t touch metal parts directly after brewing
- Always unplug or remove from heat source after use
Read: How to Make Coffee with a French Press
💡 Exploring Modern Percolator Designs
Modern designs feature:
- Heat-resistant silicone handles
- Non-reactive stainless steel construction
- Clear viewing knobs
- Auto shut-off and keep-warm features
- Some even integrate with Cookware Sets and offer Lifetime Warranty
The GSI Outdoors Stainless Steel Glacier Perc is a prime example—durable, efficient, and made for travel or home use.
Also Know: How to Descale Your DeLonghi Coffee Machine
📄 Understanding Warranties and Care Instructions
Always check the manufacturer’s documentation for:
- Warranty coverage (many offer Lifetime Warranty)
- Proper assembly instructions
- Customer service contact details
- Shipping calculator, estimated delivery (e.g., “Order by Jul 14, deliver by Jul 16”)
- Maintenance guides and cleaning precautions
This ensures safe operation and long-term satisfaction.
More About: How to Make a Coffee Frappe
🛠️ Troubleshooting Common Percolator Issues
- No percolation? Check your heat source and assembly.
- Coffee too weak? Try a finer grind or longer brew time.
- Bitter taste? Over-percolation—reduce brewing time.
- Sediment in cup? Use a finer coffee filter or let coffee settle longer.
- Water leaks? Inspect the rubber gasket and safety valve for wear.
Read More: How to Use a Coffee Brewer
✅ Conclusion and Final Tips
Using a coffee percolator is about slowing down, tuning into the moment, and appreciating the hands-on craft of brewing. Whether you’re reminiscing about your grandmother’s kitchen or embracing culinary food science as a hobby, the percolator invites you to be part of your coffee’s journey.
Invest in quality beans, practice your timing, and maintain your gear. With each brew, you’ll get a little closer to that perfect, bold, aromatic cup of joy—one rich in flavor, story, and ritual.
Frequently Ask Questions (FAQs)
Use medium ground coffee for best results. Too fine a grind (like espresso) may slip through the mesh filter or coffee basket, creating sediment in your cup. Too coarse, and the brew will be weak. A burr grinder ensures a consistent grind size suitable for the percolation process.
Optimal percolation time is 6 to 8 minutes after the first bubble appears in the PercView knob. Any longer and you risk over-extraction, which can lead to bitterness. For a milder brew, stop closer to 4–5 minutes. Always monitor your brew closely, especially with stovetop models.
Some percolators have built-in mesh filters, while others use paper filters or permanent filters. Filters can help reduce grounds in your cup and make cleanup easier. Check your model’s manual—some, like the GSI Outdoors Glacier Perc, function well without added filters.
Bitterness usually results from:
Brewing too long
Using too fine a coffee grind
Reheating on a warming plate
Using stale coffee beans
To fix this, shorten brew time, use fresh beans, and stick to medium grind.
After each use:
Disassemble and rinse all parts (including the coffee basket, stem, and rubber gasket)
Wipe down the stainless steel construction
Deep clean monthly with a baking soda or vinegar solution to remove mineral deposits
This ensures better taste and longer machine life.